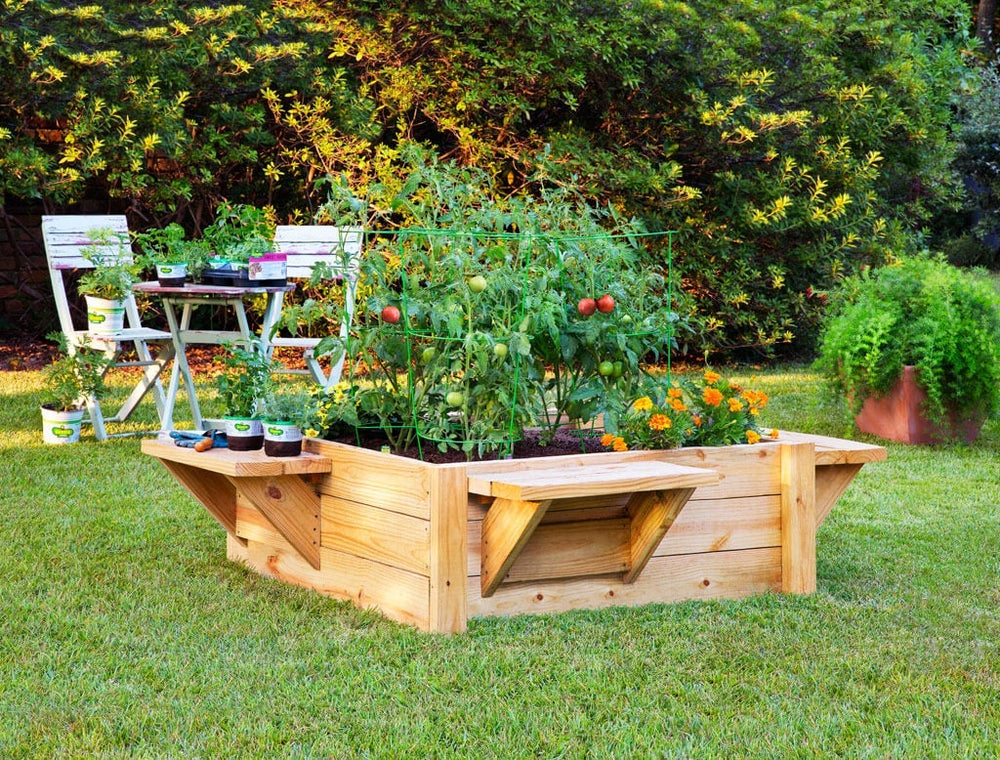
This half-day project makes gardening easier and more comfortable. It's higher than most raised beds, so you don't have to bend over quite as much, plus it has a bench on each side so you can sit while you plant, weed, and harvest. This is an ideal garden set-up for older gardeners, folks with back or knee problems, or anyone simply looking for an attractive, unique style of raised bed to add to the yard.
Estimated Time: 4 hours (less if you have wood pre-cut)
Project Difficulty: Moderate
Building tips
Cut the lumber yourself if you have some woodworking experience, or make it easy by having the boards pre-cut at your local home improvement store.
Be sure to choose a level piece of ground in a well-drained area that gets at least 6 to 8 hours of sun per day.
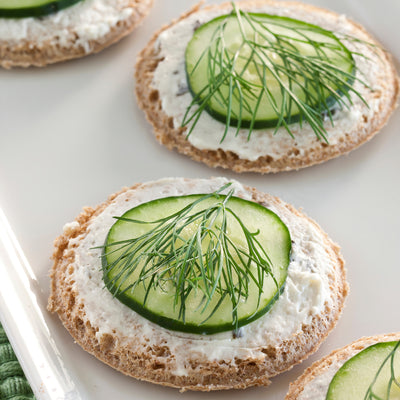
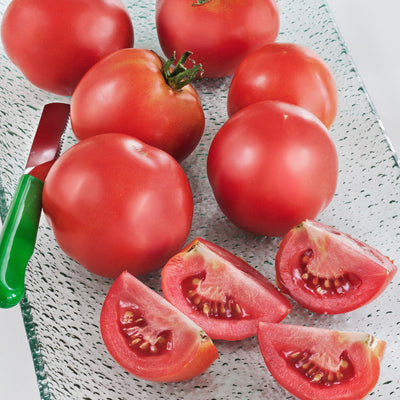
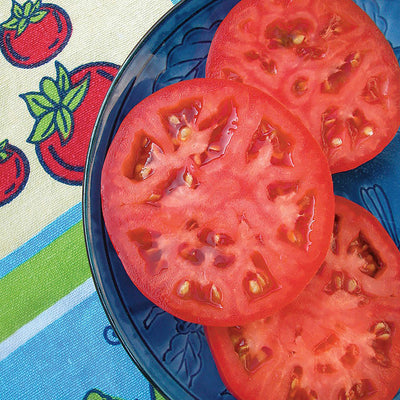
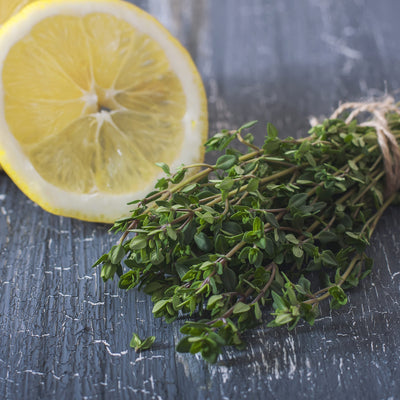
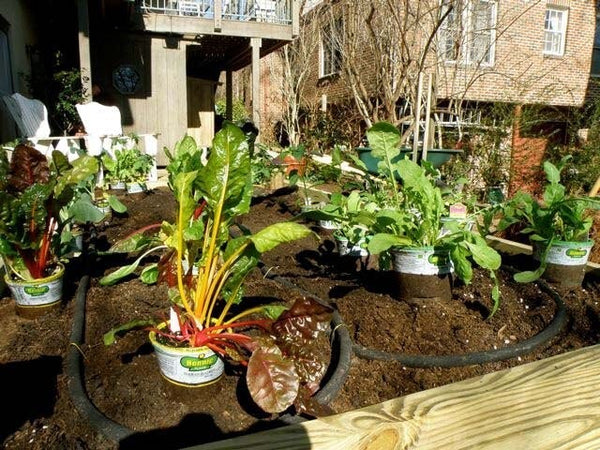
To help prevent weeds, cover the ground inside the bed with newspaper or landscaping cloth before filling with premium quality soil developed especially for raised beds, such as Miracle-Gro® Raised Bed Soil. Also, be sure to feed your veggies and herbs throughout the season with a plant food like Miracle-Gro® Shake ‘n Feed® Tomato, Fruit & Vegetable Plant Food, which is designed to give your edible plants the nutrients they need to grow strong and deliver a big harvest.
To build our Raised Bed with Benches, watch the video, scroll down for instructions, or download our printable PDF guide.
* or can have lumber pre-cut at home improvement store per dimensions in Parts List
Parts List:
Part
Quantity
Size
Side Slats
8
1½ x 5½ x 45
Bottom Side Slats
4
1½ x 7¼ x 45
Inner Posts
8
1½ x 3½ x 14
Bracket Supports
4
1½ x 5½ x 16
Brackets
8
1½ x 5½ x 15½
Outer Posts
4
1½ x 3½ x 18¼
Seat Slats
8
1½ x 5½ x 24
Seat Cleats
4
1½ x 1½ x 20½
Use this slideshow for step-by-step directions
Create the Side Assemblies by positioning two Side Slats and one Bottom Side Slat with the ends flush. Place two Inner Posts 13½ inches from the ends and 1¾ inches from the edge of the Bottom Side Slat, as shown in Figure 1. Attach using 2½-inch deck screws. Repeat to create three more assemblies, using two Side Slats, one Bottom Side Slat and two Inner Posts for each. Divide the four assemblies into two sets of two.With one set of Side Assemblies, position a Bracket Support on each as shown in Figure 2 and attach using 2½-inch deck screws.Use Figure 3 as a guide for creating/identifying the Brackets.Still working on the first set of Side Assemblies, position the Brackets as shown in Figure 4 on each, making sure they are flush against the ends of the Bracket Support, and attach using 2½-inch deck screws.Working from the opposite sides of these Side Assemblies, drive 2½-inch deck screws through the Side Slats and into the Brackets on each as shown in Figure 5.
With the second set of Side Assemblies, position a Bracket Support on each as shown in Figure 6 and attach using 2 1/2-inch deck screws.Position the Brackets as shown in Figure 7 on each, making sure they are flush against the ends of the Bracket Support, and attach using 2½-inch deck screws.Working from the opposite sides of these Side Assemblies, drive 2½-inch deck screws through the Side Slats and into the Brackets on each as shown in Figure 8.Flip this second set of Side Assemblies back over and position the Outer Posts on each as shown in Figure 9, then attach using 2½-inch deck screws.Working with the set of Side Assemblies without the Outer Posts, position a Seat Slat on each, flush against the end of the Side Slats and against the Brackets as shown in Figure 10. Mark a line where the Seat Slat meets the Side Slat.Position a Seat Cleat on each as shown in Figure 11 (on the marked line) and attach using 2½-inch deck screws.Position a Seat Slat on each as shown in Figure 12 and attach to the Seat Cleat and Brackets using 2½-inch deck screws.Position a second Seat Slat on each as shown in Figure 13 and attach to the Brackets using 2 1/2-inch deck screws. (Use a quarter-inch scrap piece as a spacer between the Seat Slats for this step, if desired.)Working with the remaining set of Side Assemblies (with the Outer Posts), position a Seat Slat on each, flush against the end of the Side Slats and against the Brackets as shown in Figure 14. Mark a line where the Seat Slat meets the Side Slat.Position a Seat Cleat on each as shown in Figure 15 (on the marked line) and attach using 2½-inch deck screws.Position a Seat Slat on each as shown in Figure 16 and attach to the Seat Cleat and Brackets using 2½-inch deck screws.Position a second Seat Slat on each as shown in Figure 17 and attach to the Brackets using 2 1/2-inch deck screws. (Use a quarter-inch scrap piece as a spacer between the Seat Slats for this step, if desired.)Position a side assembly without Outer Posts and a side assembly with Outer Posts as shown in Figure 18. Make sure the ends of the Side Slats fit flush against the Outer Posts. Attach using 3-inch deck screws. Repeat with the remaining pair of Side Assemblies.Position both pairs of Side Assemblies together as shown in Figure 19. Again, make sure the ends of the Side Slats fit flush against the Outer Posts. Attach using 3-inch deck screws.


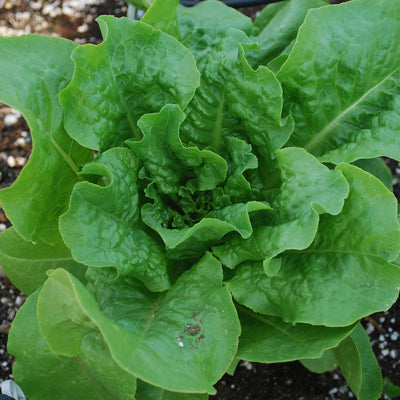
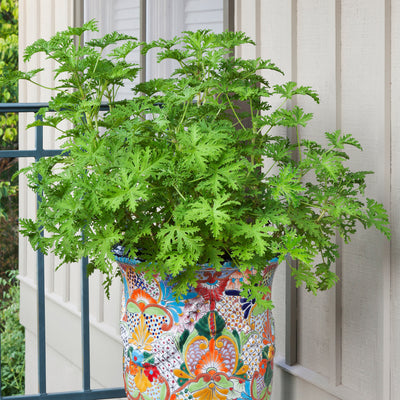
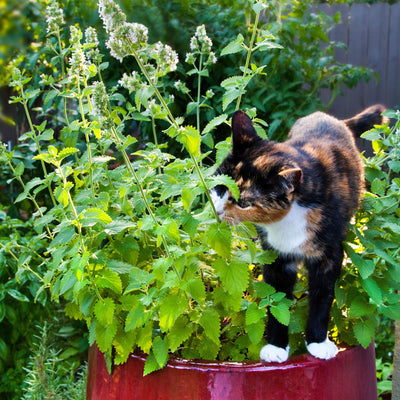
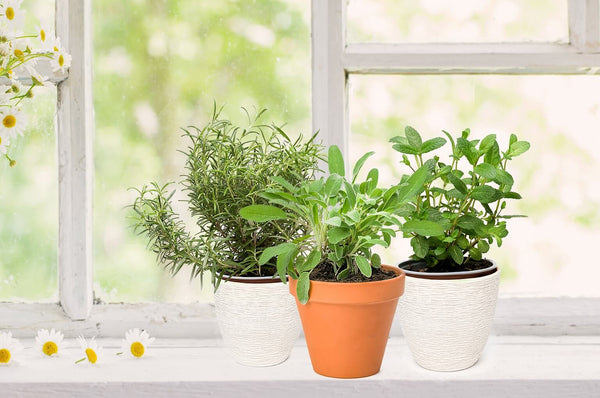
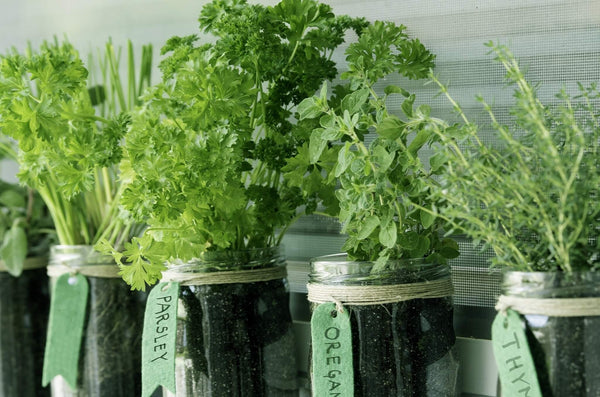
 Herbs
Herbs
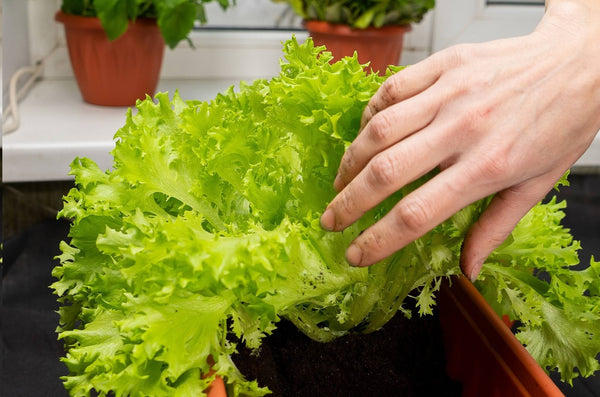
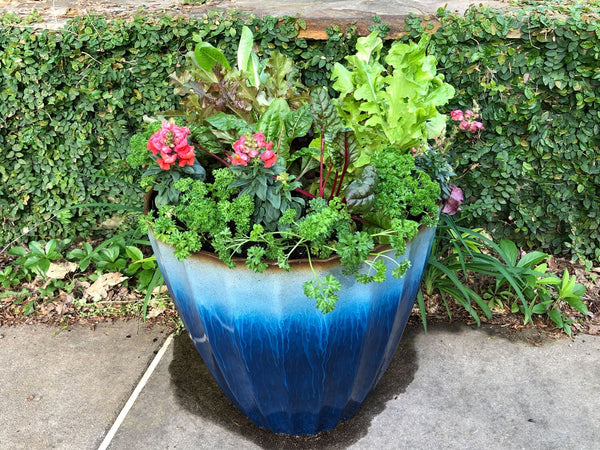
 Vegetables
 Fruit
Fruit
 Flowers
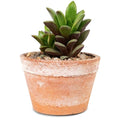 Succulents


 Working from the opposite sides of these Side Assemblies, drive 2½-inch deck screws through the Side Slats and into the Brackets on each as shown in Figure 5.